

tasseled tissue paper garland

A few weeks ago, I helped decorate my best friend Heather's engagement party with a fiesta theme. I looked on Pinterest and, obviously, found an overwhelming amount of great ideas, and some pretty adorable things for sale on Etsy. While it would have been the easiest thing to purchase these items online (it's so convenient to have things shipped directly to my doorstep) I'm trying to be more conscious of my carbon footprint.
While I am not denying that this hand-made beauty is probably taking up some space in a Southern California landfill as we speak, I'd like to think that perhaps, it did find its way to a storage bin filled with other decorations to be used another time.

Not to mention, when you look at some of these products for sale online, the materials used are drastically cheaper than the final markup. I found similar [adorable] tissue paper garlands on Etsy between $15-30; I purchased the materials to make this garland for under $8--and, I could have made at least 10 garlands. Truth be told, the garland did take up a good chunk of time, but I found it to be a relaxing activity, almost meditative, in the evening while [binge] watching Netflix.

Before you start you project, select your color palette and gather your materials. Mine was fiesta themed for my friend's engagement party, but I've seen some really cute garlands designed for New Year's, baby showers, birthdays, etc.
Materials: tissue paper (I used 16.5" x 24" paper, the Spritz brand), a hot glue gun, yarn or thick twine (has to be fairly thick so the tassels don't slide when hung), scissors and midi tape (I chose a gold sparkly variety).
//Steps//
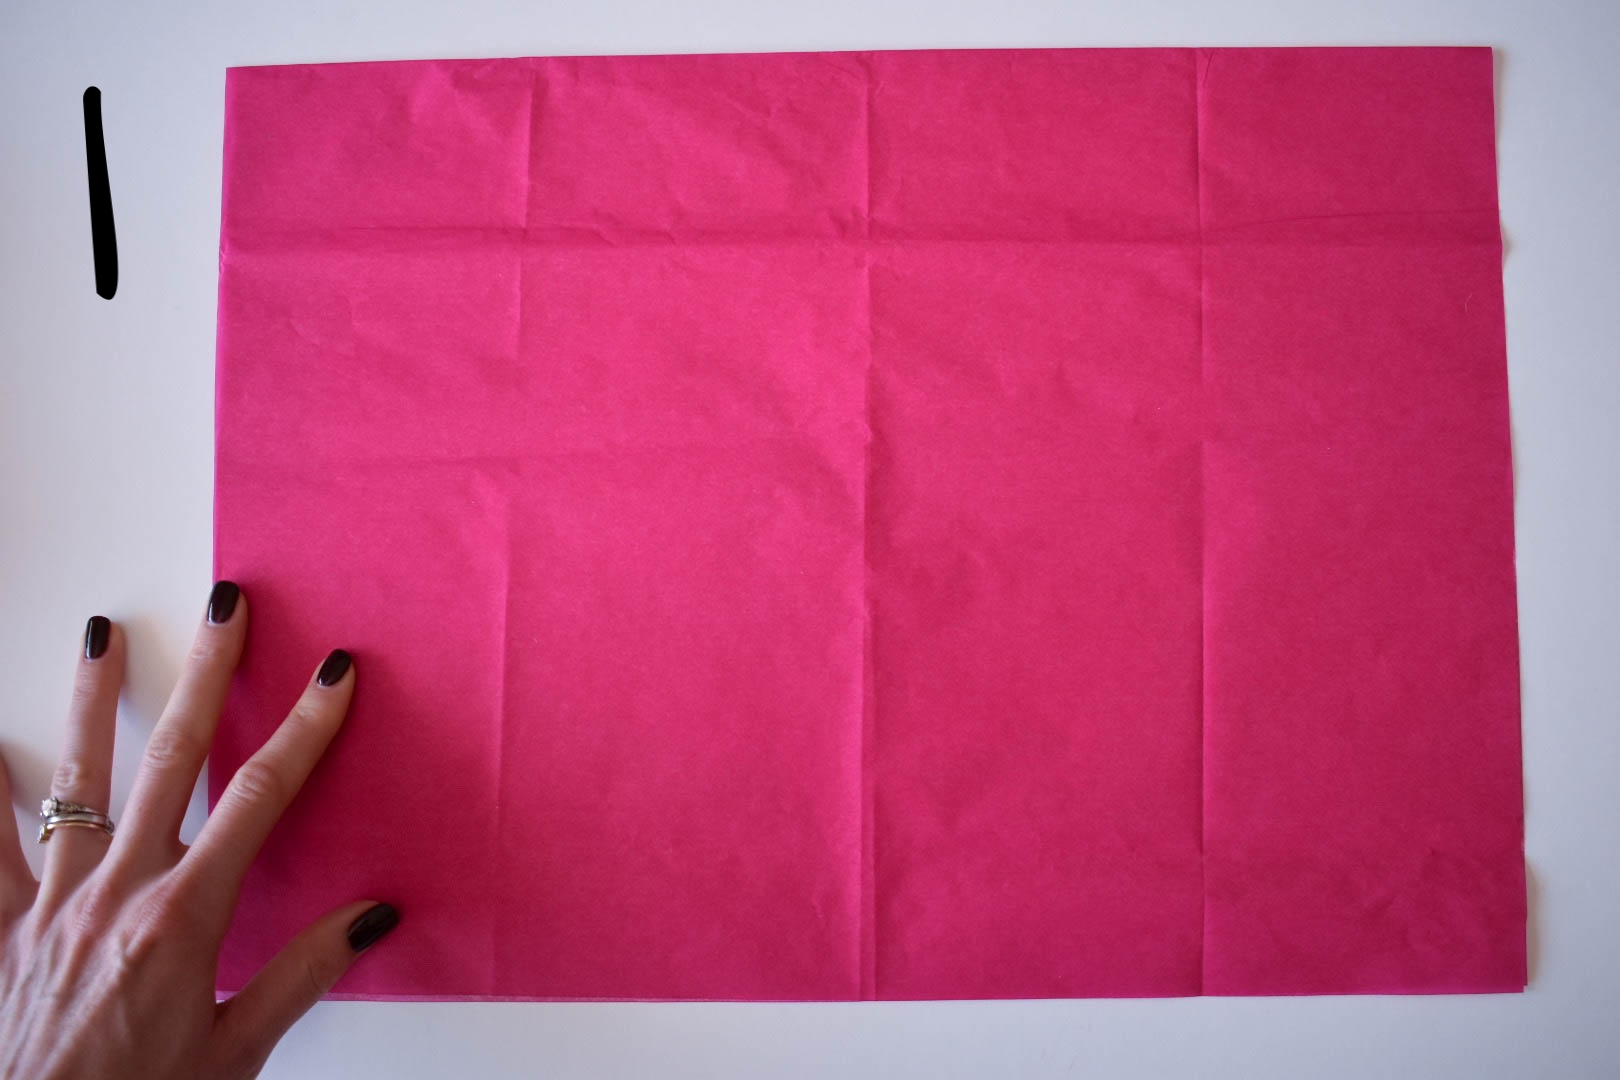
1. Completely unfold the individual tissue paper sheet. Then fold it in half hamburger style (or the longer side from top to bottom).
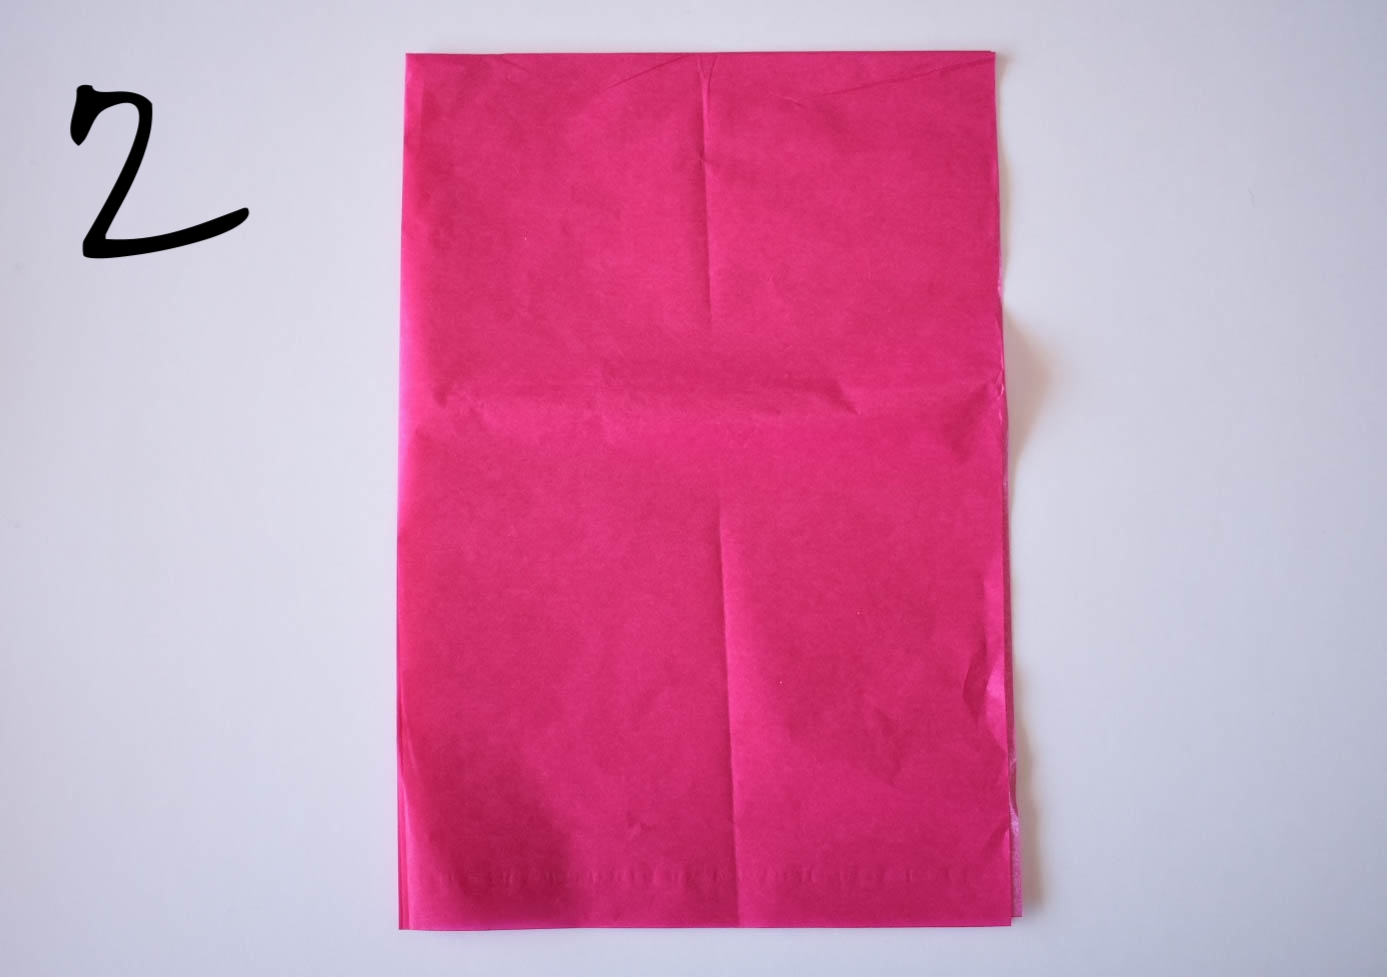
2. Next, fold the opposite side (the now wider side) in half.
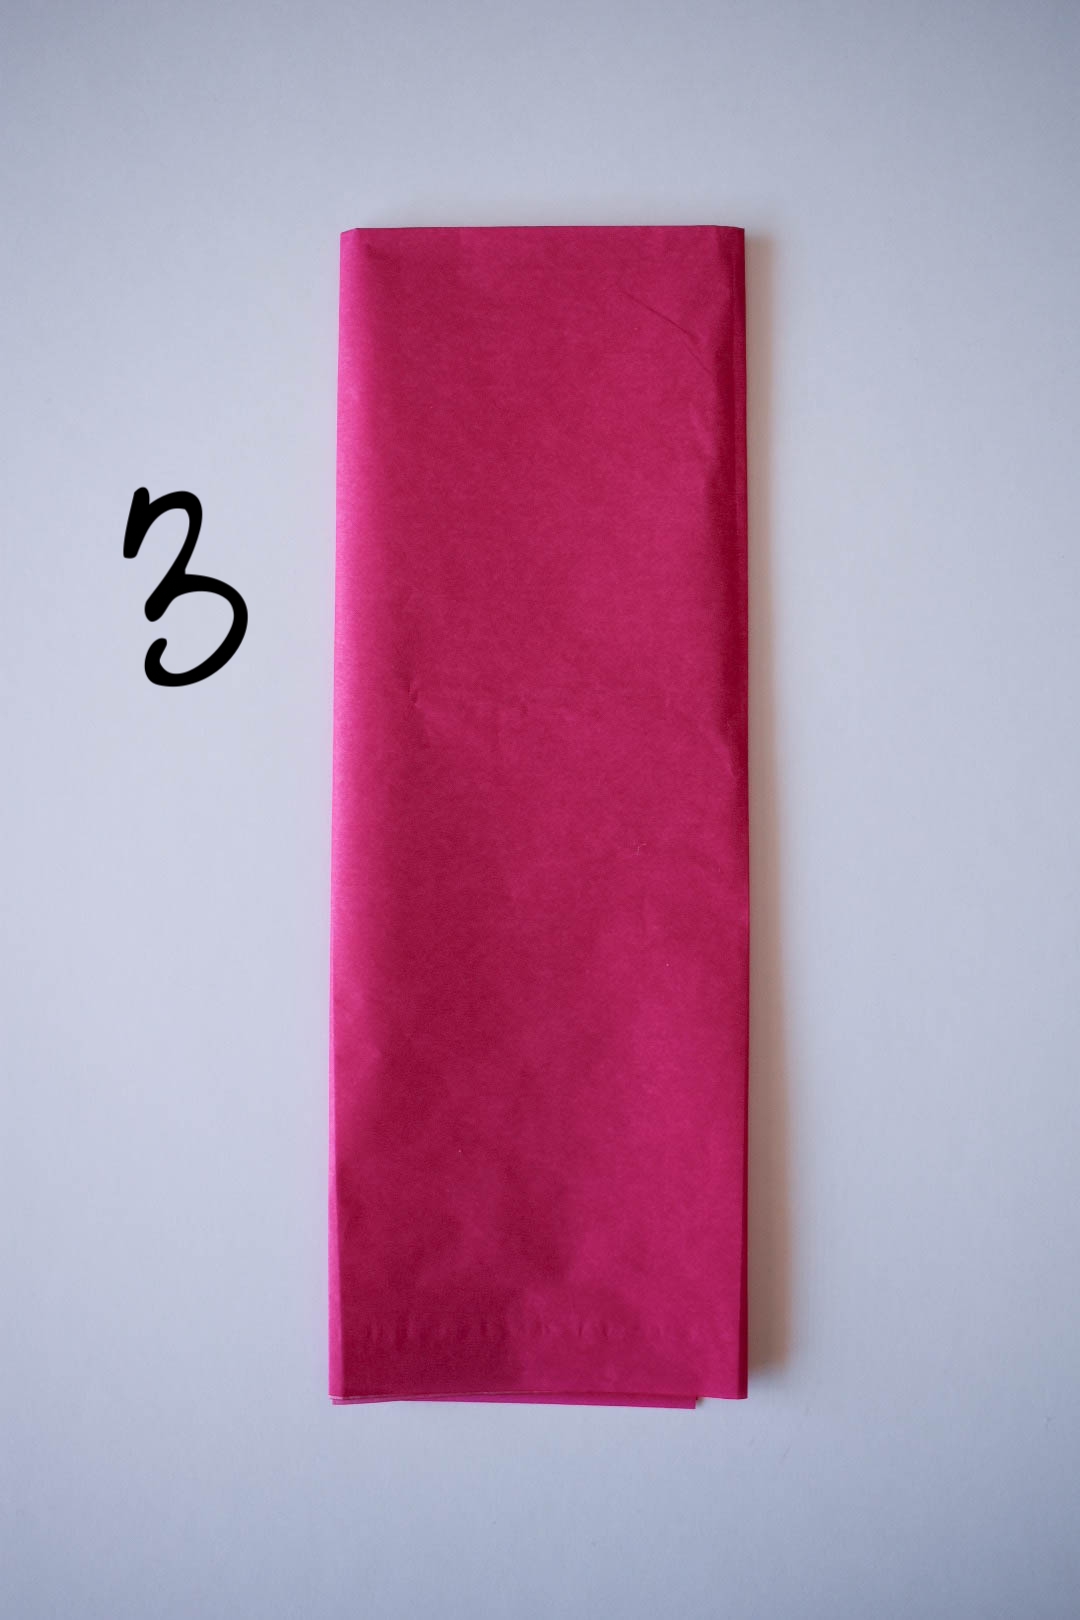
3. Again, fold the same side in half.
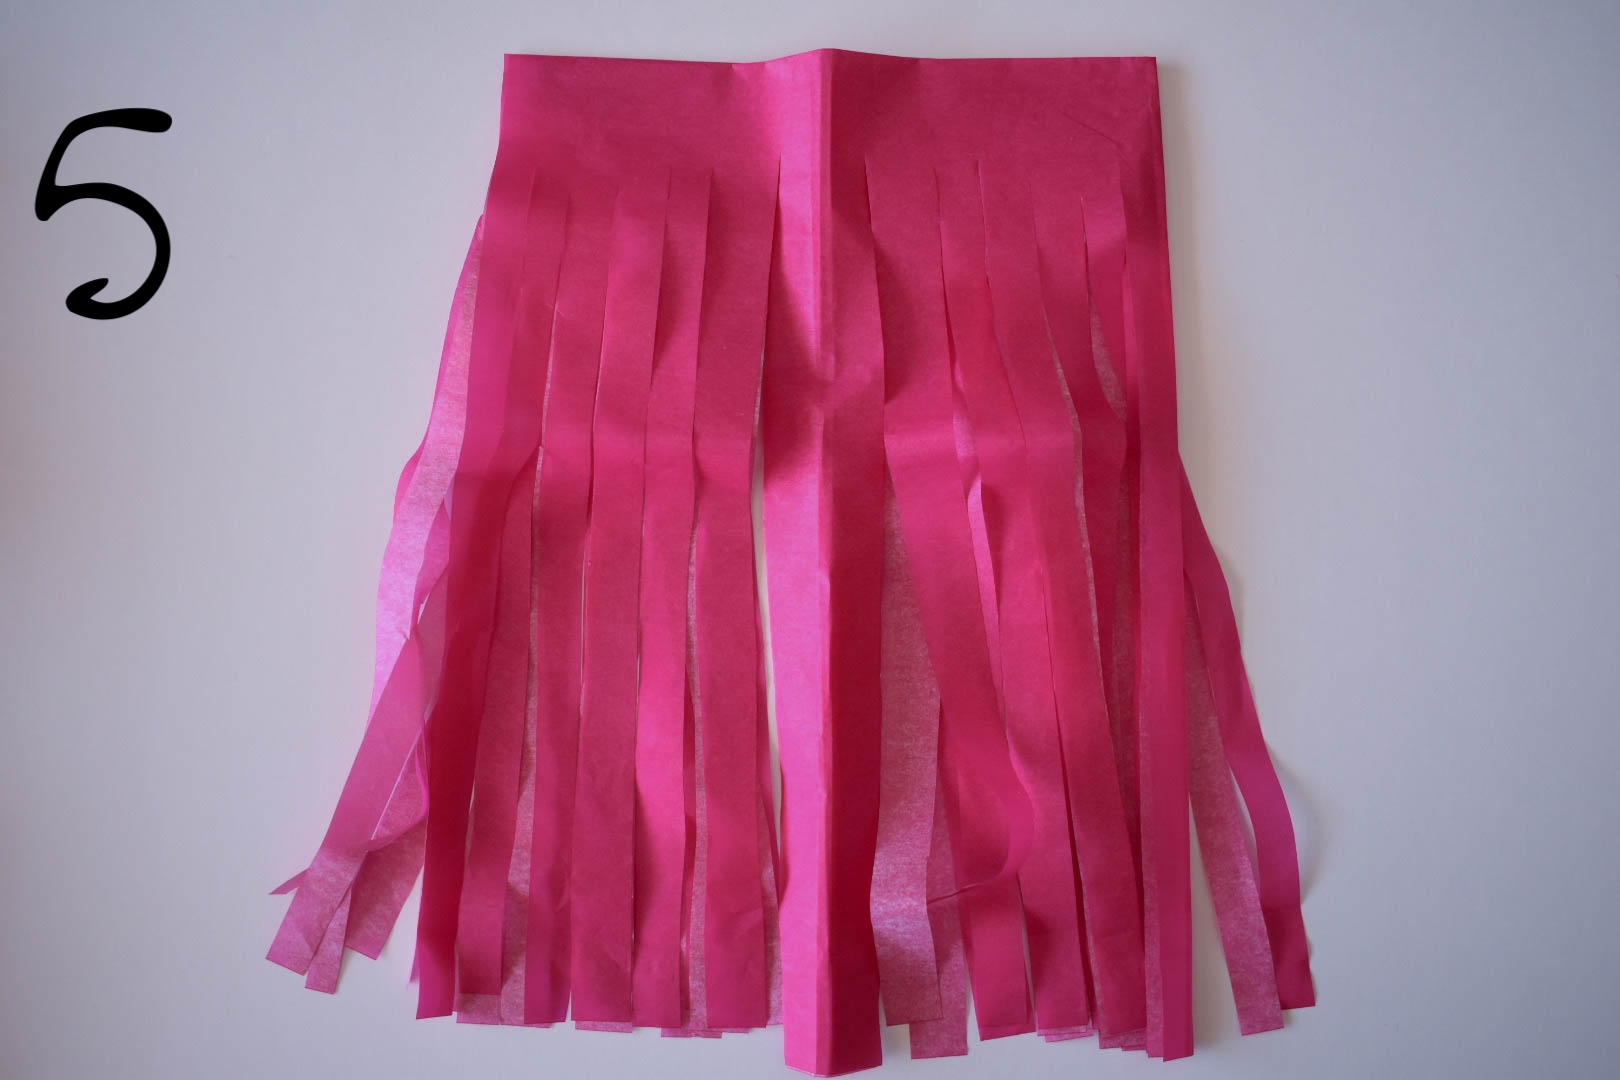
4. Using sharp scissors, cut the longer side into thin strips. It doesn't have to be exact, but try to cut the strips as evenly as possible.
5. Unfold the tissue once width-wise.
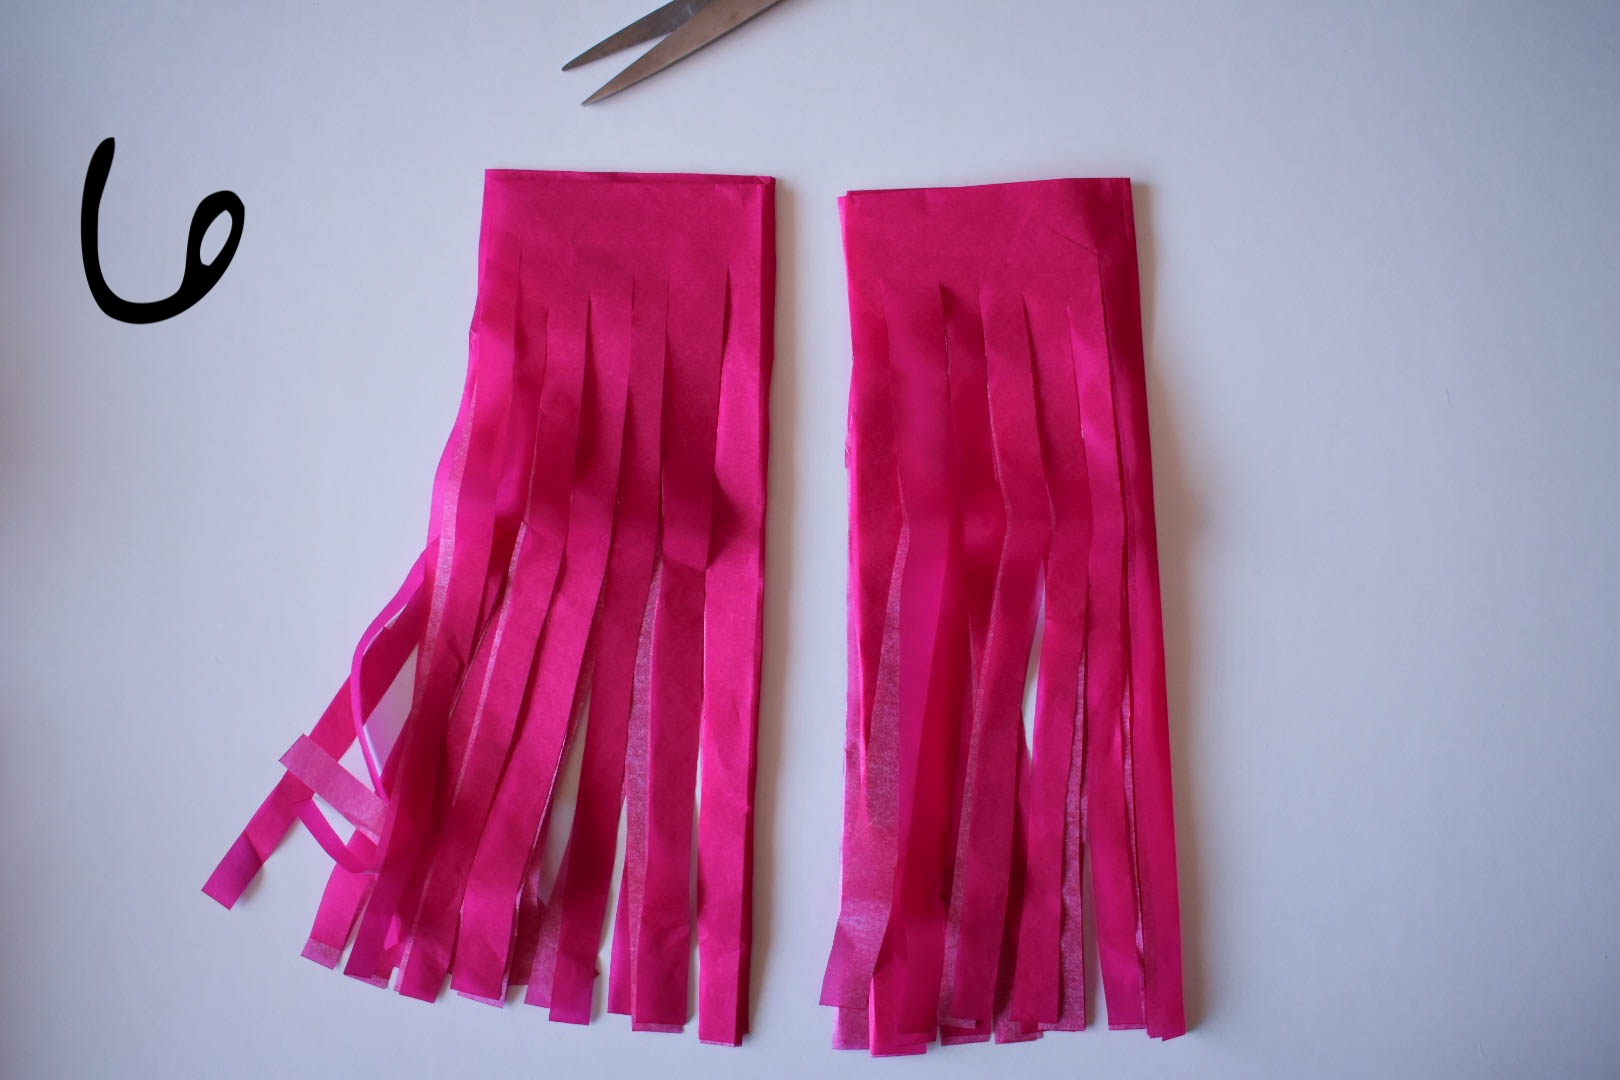
6. Cut along the creased center line to make two even pieces.
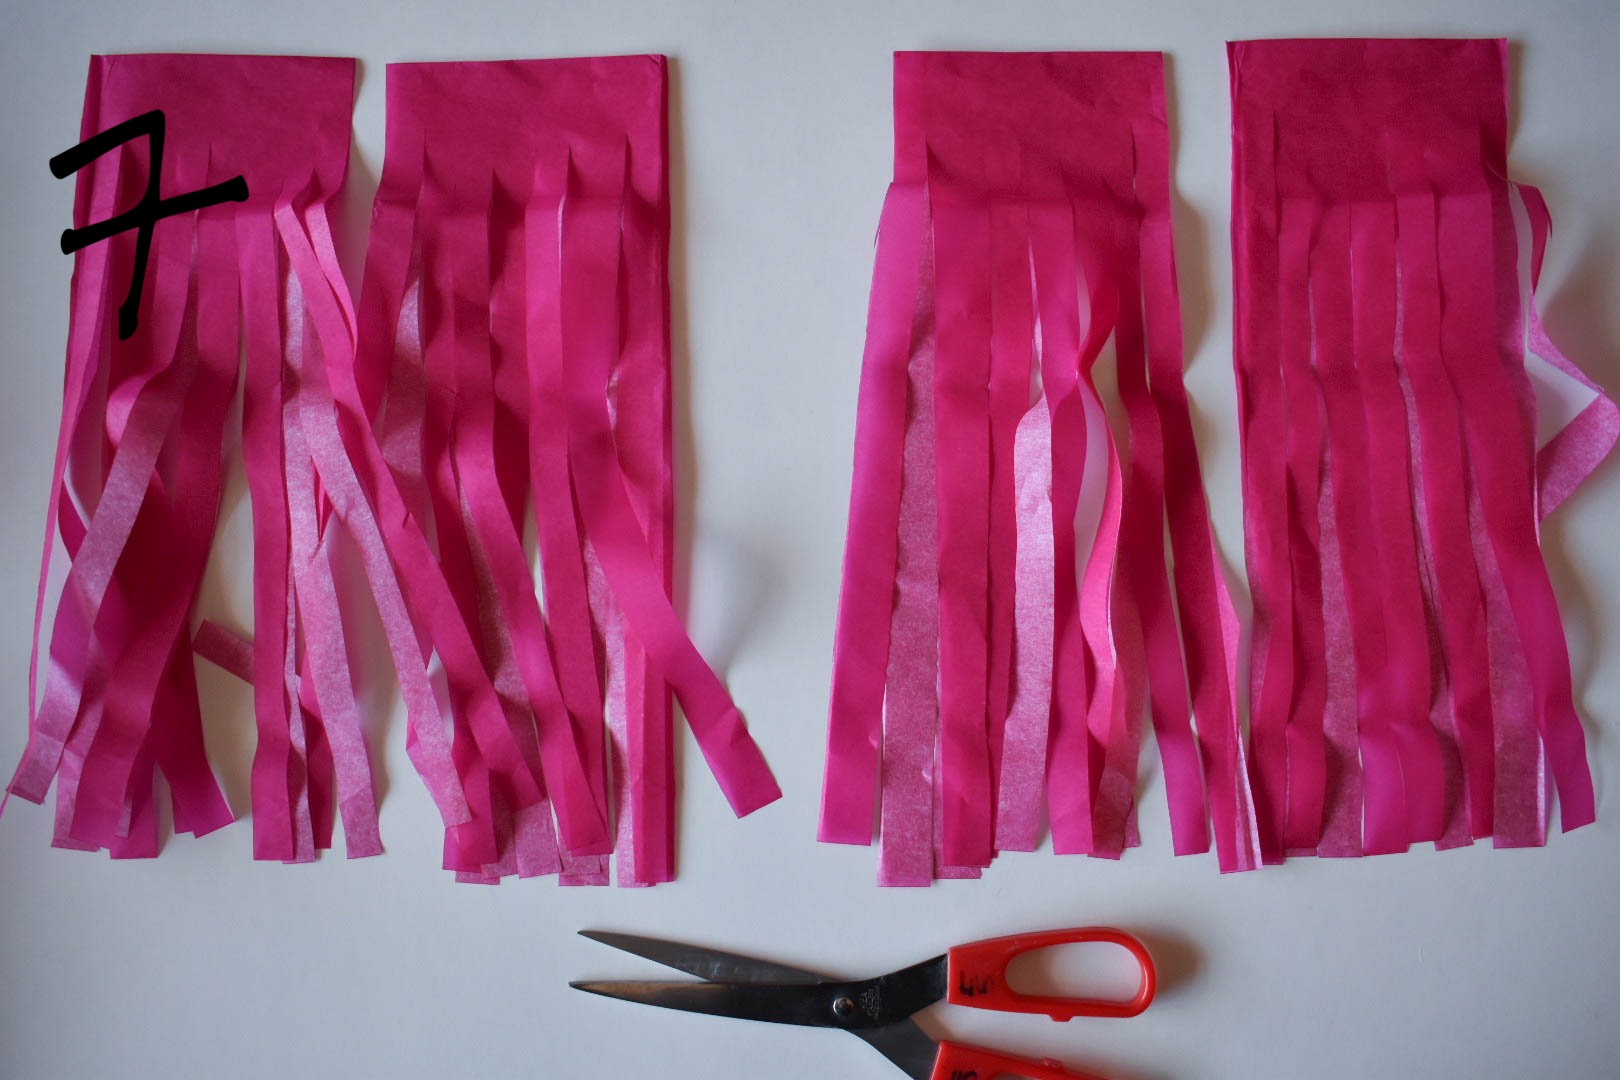
7. Unfold each of the two individual pieces once, and cut along the creased center to make four individual pieces.
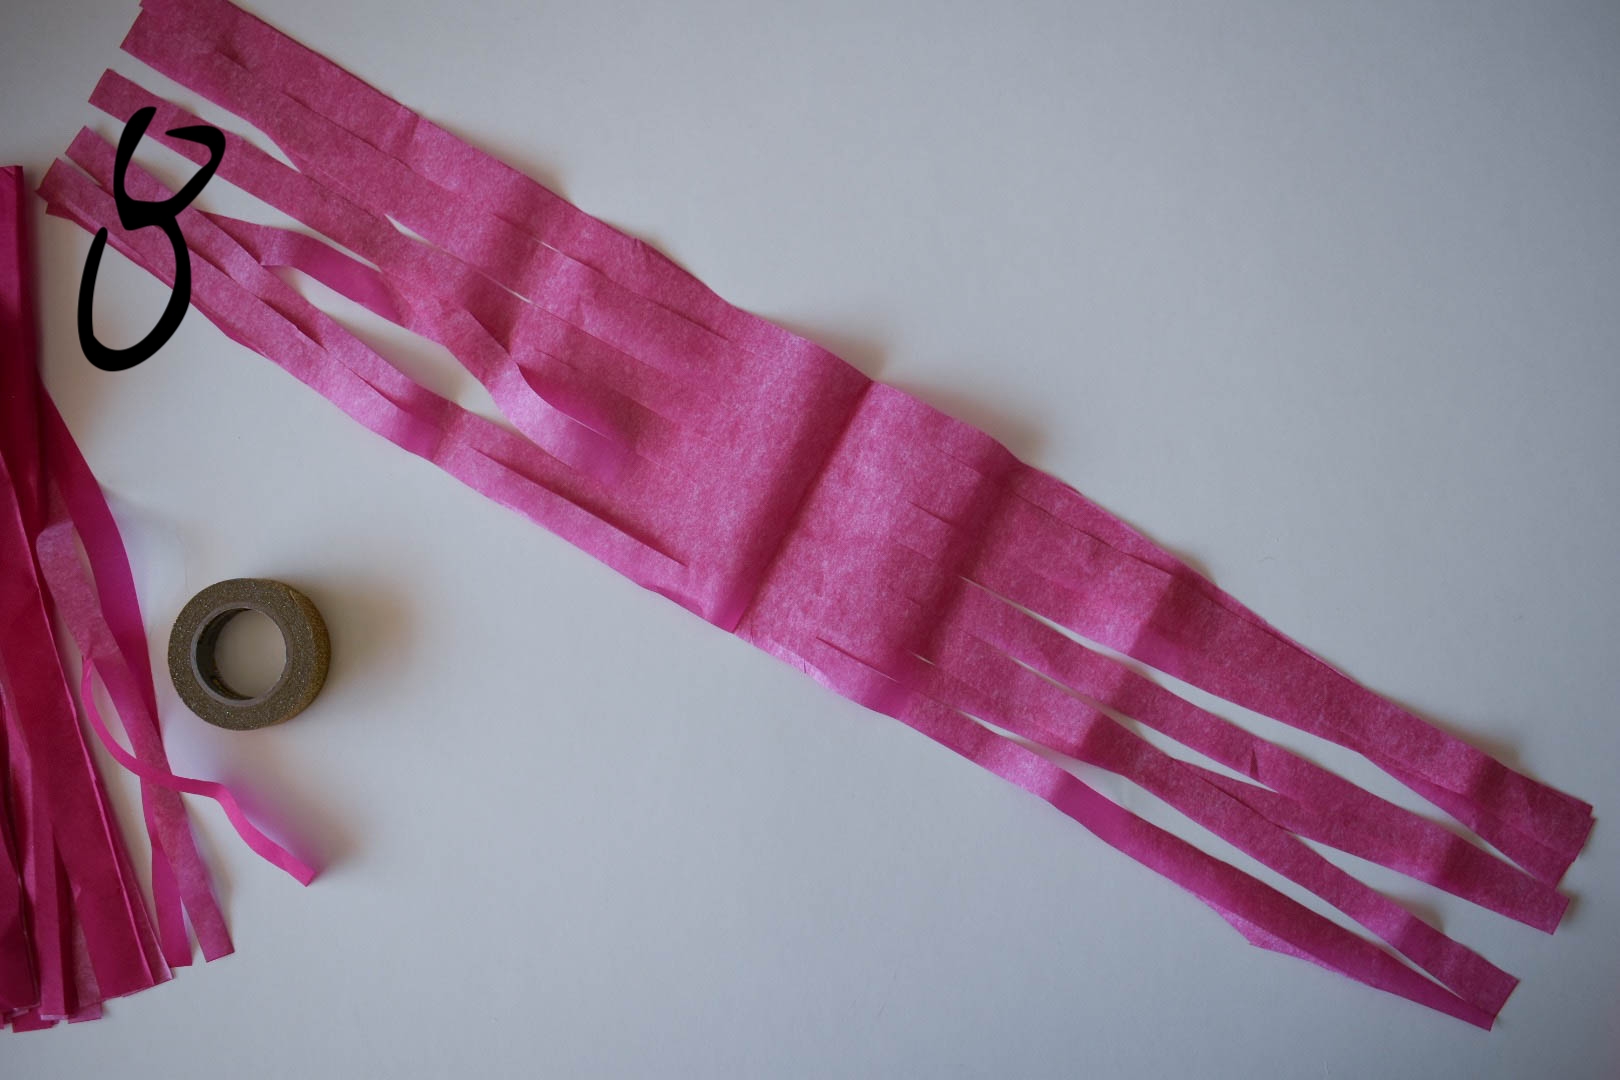
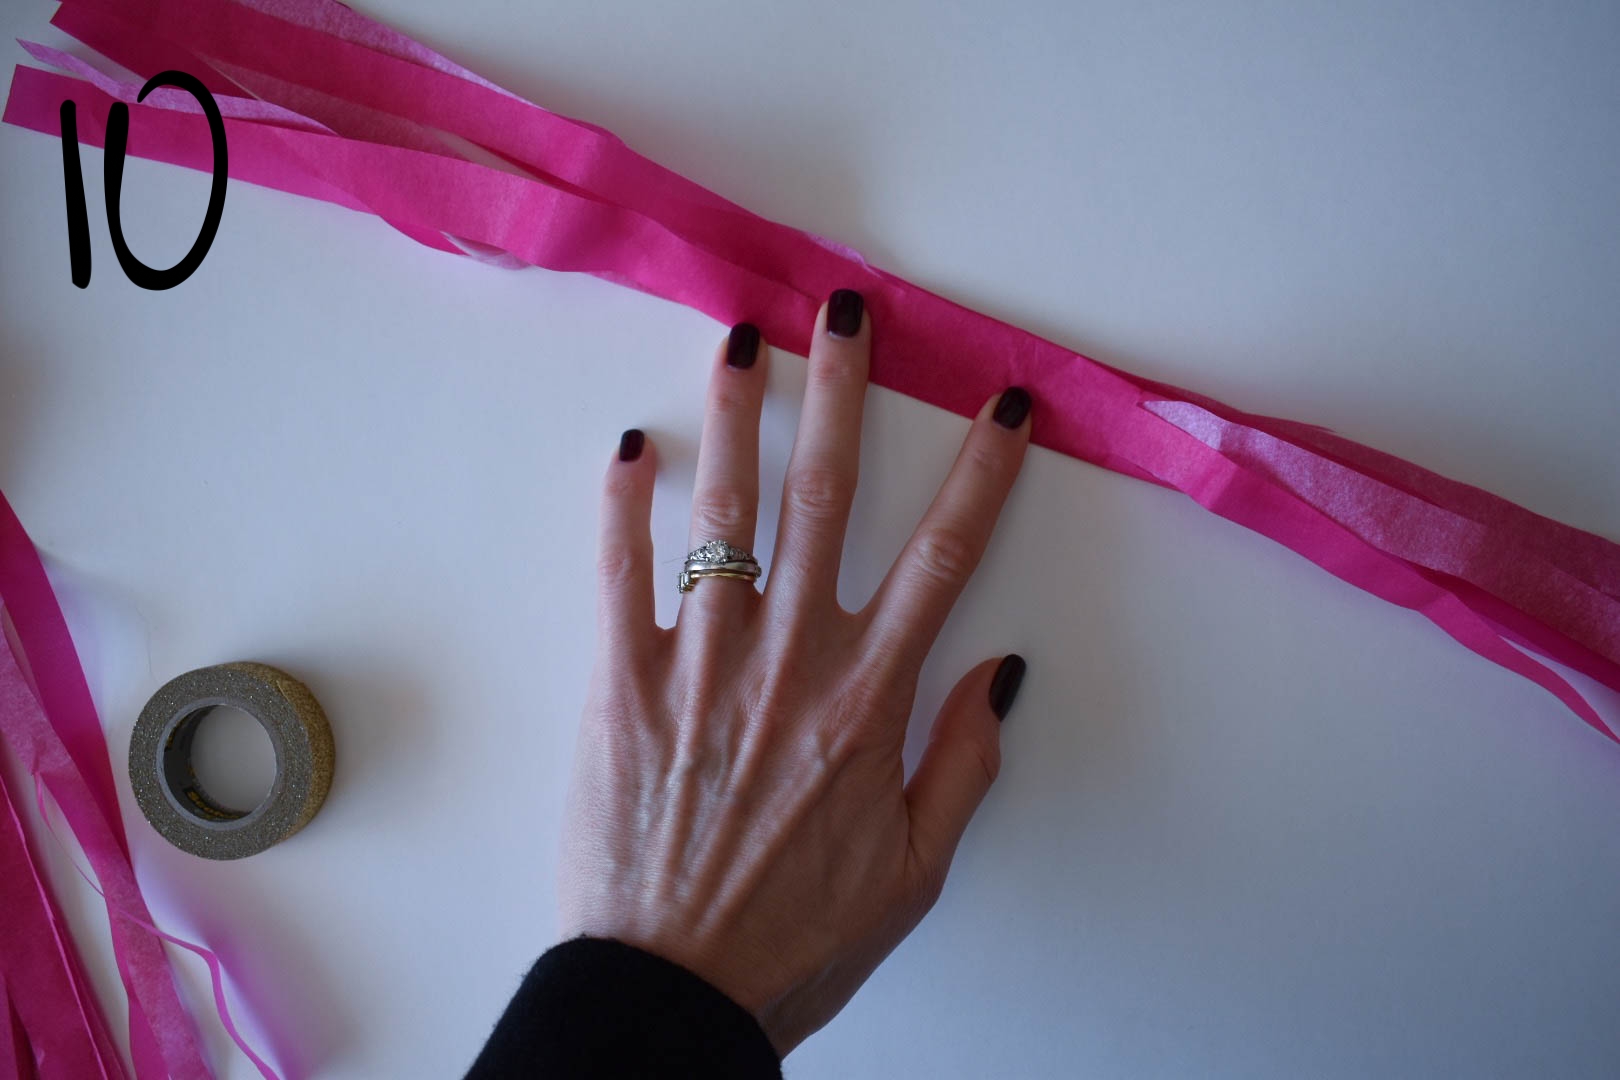
8. One at a time, unfold each piece lengthwise (see picture above).
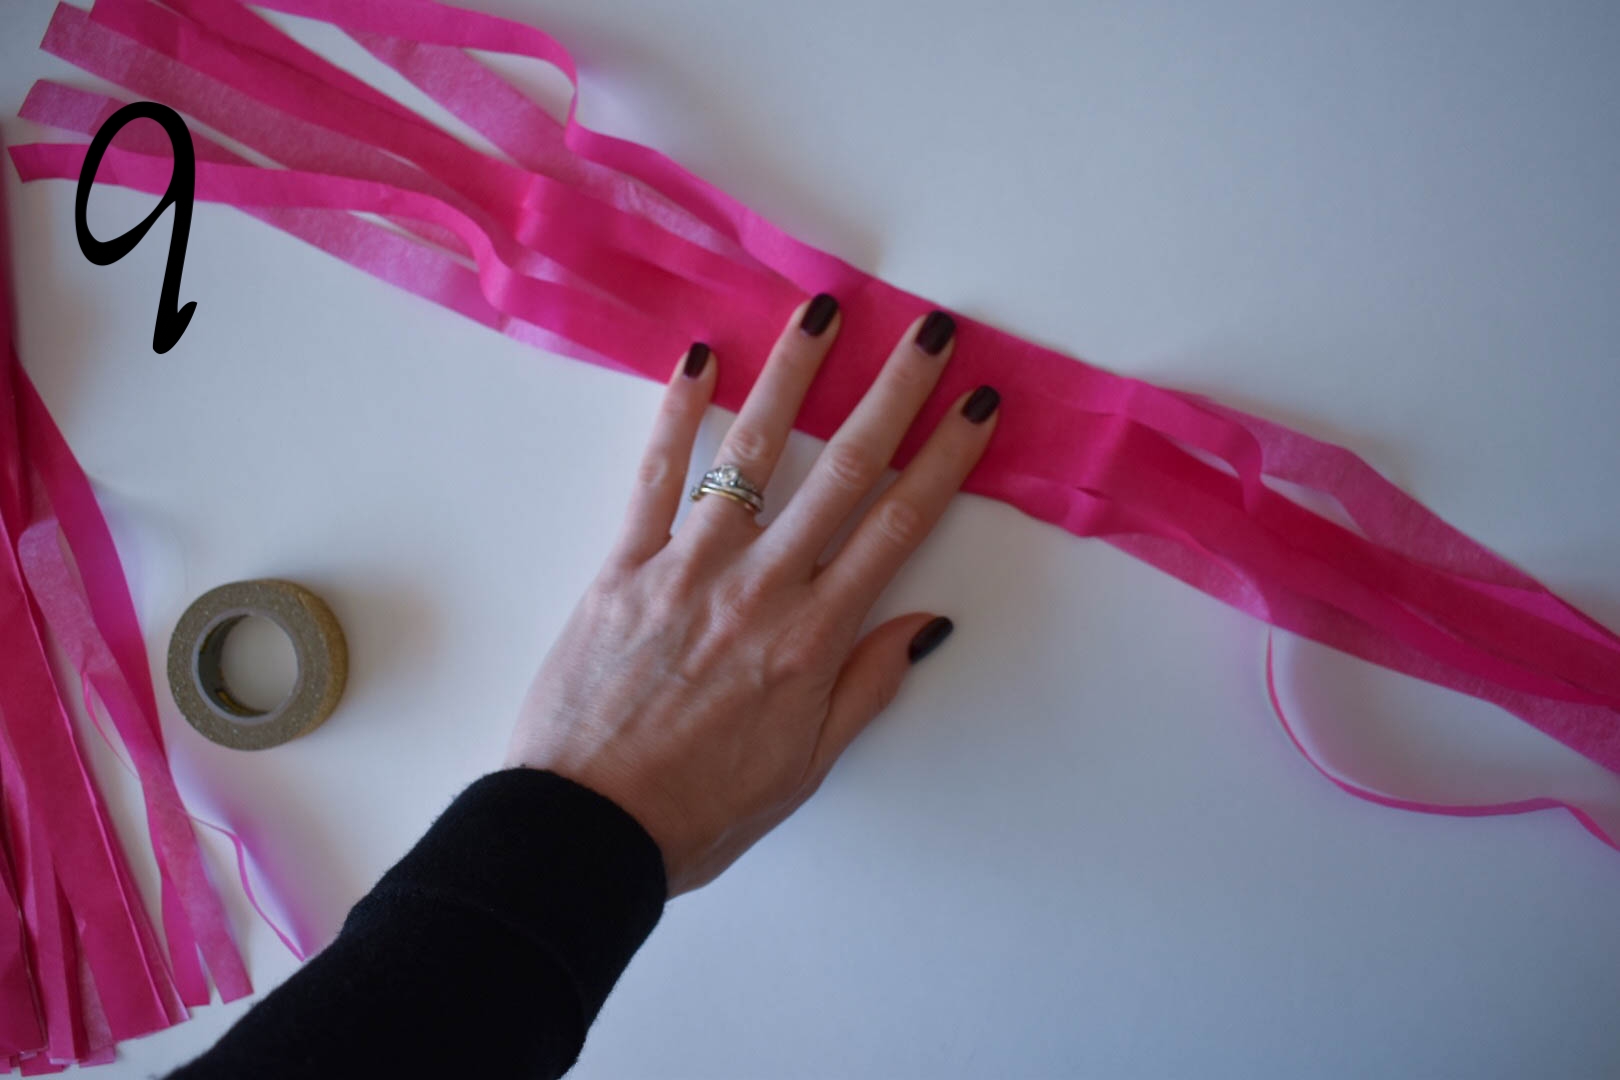
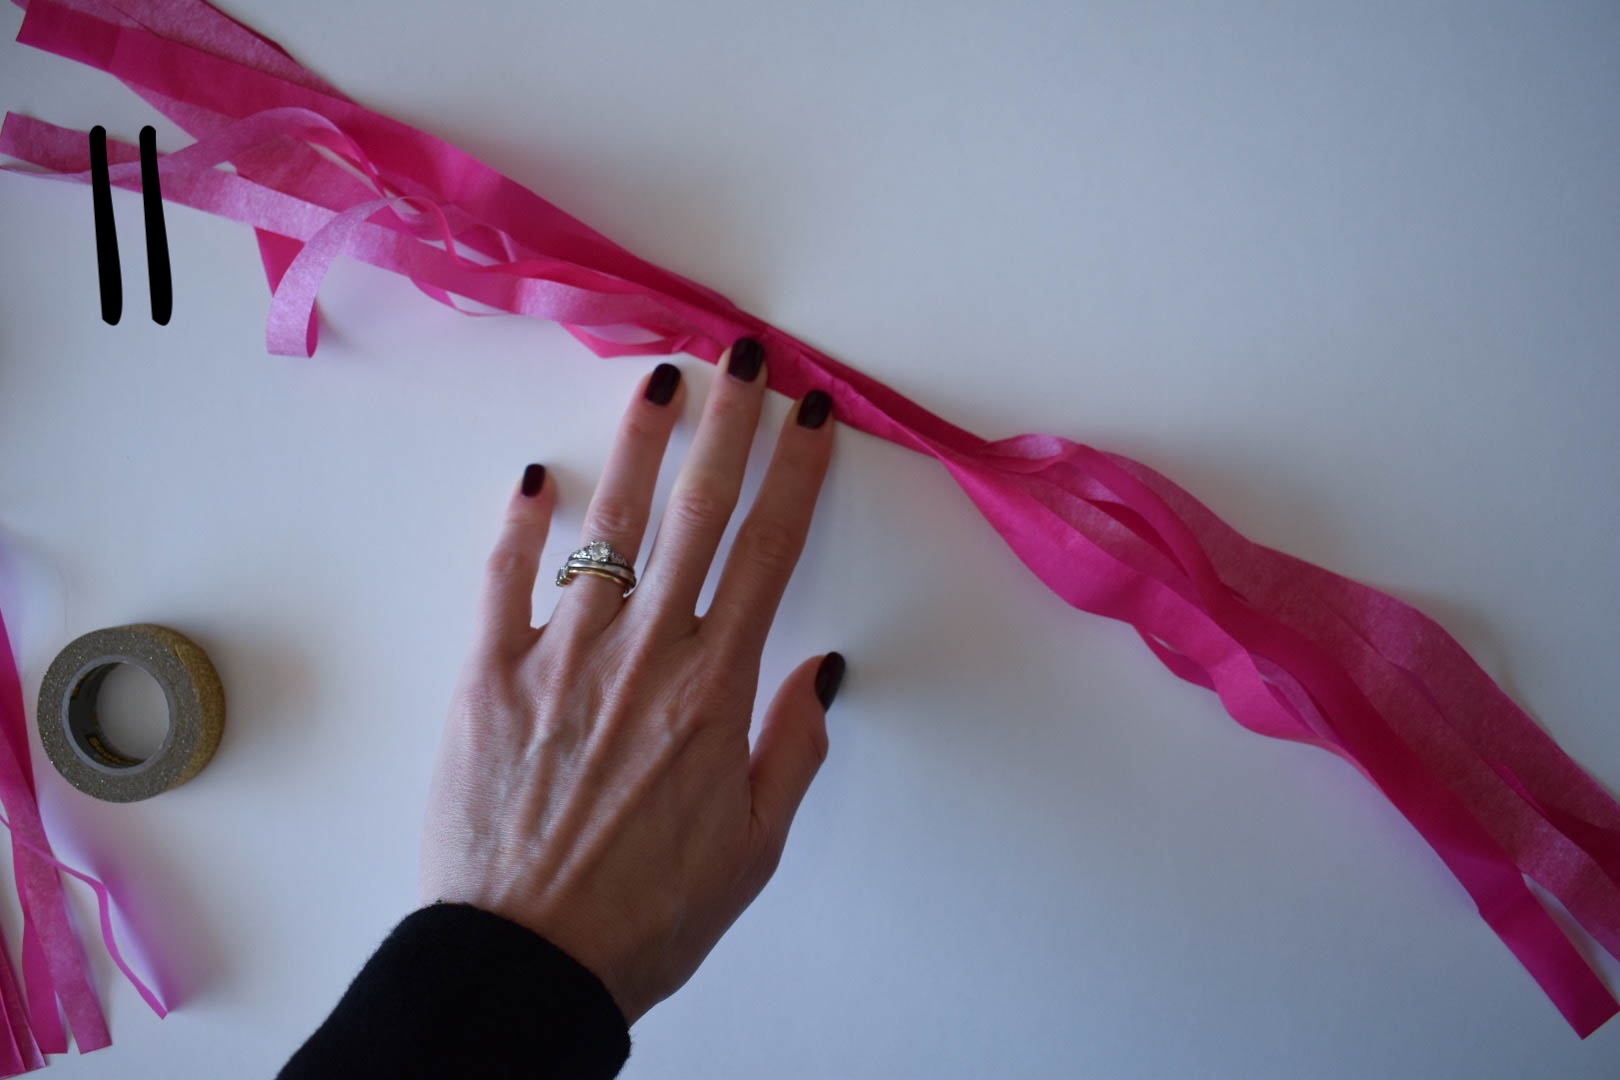
9-11. Then, fold in half width-wise . Keep folding until you can't anymore!
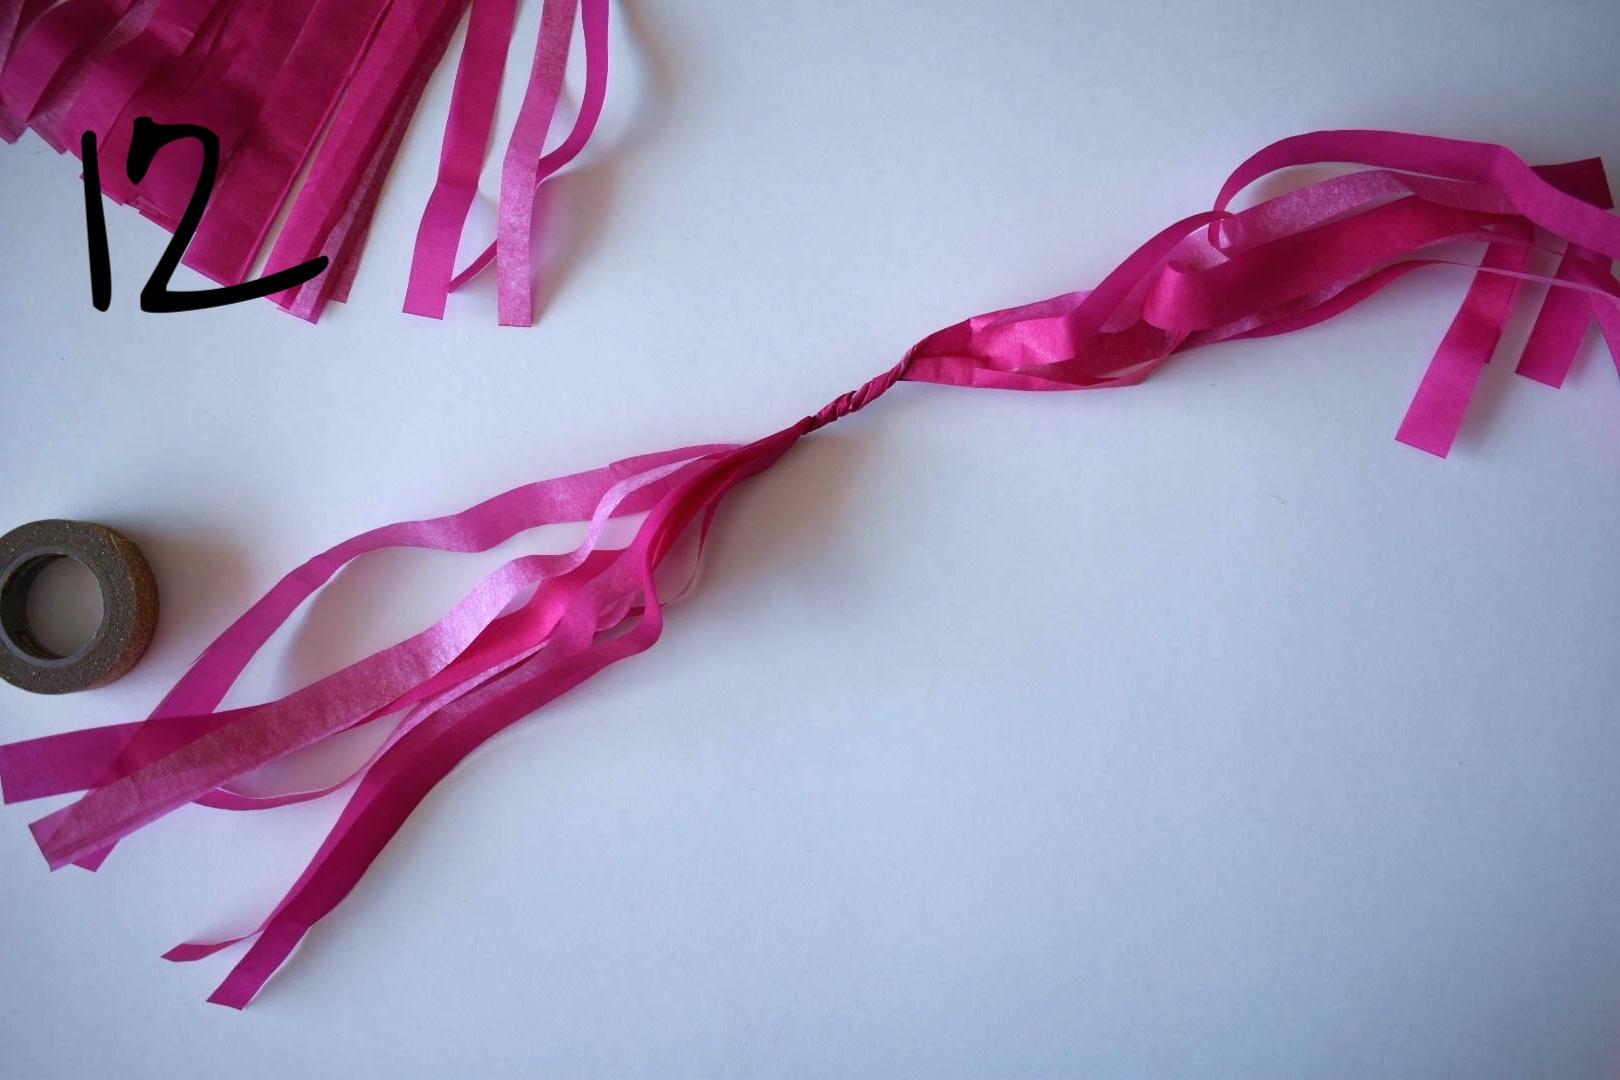
12. Twist at the center--keep twisting until you create a think line in the center.
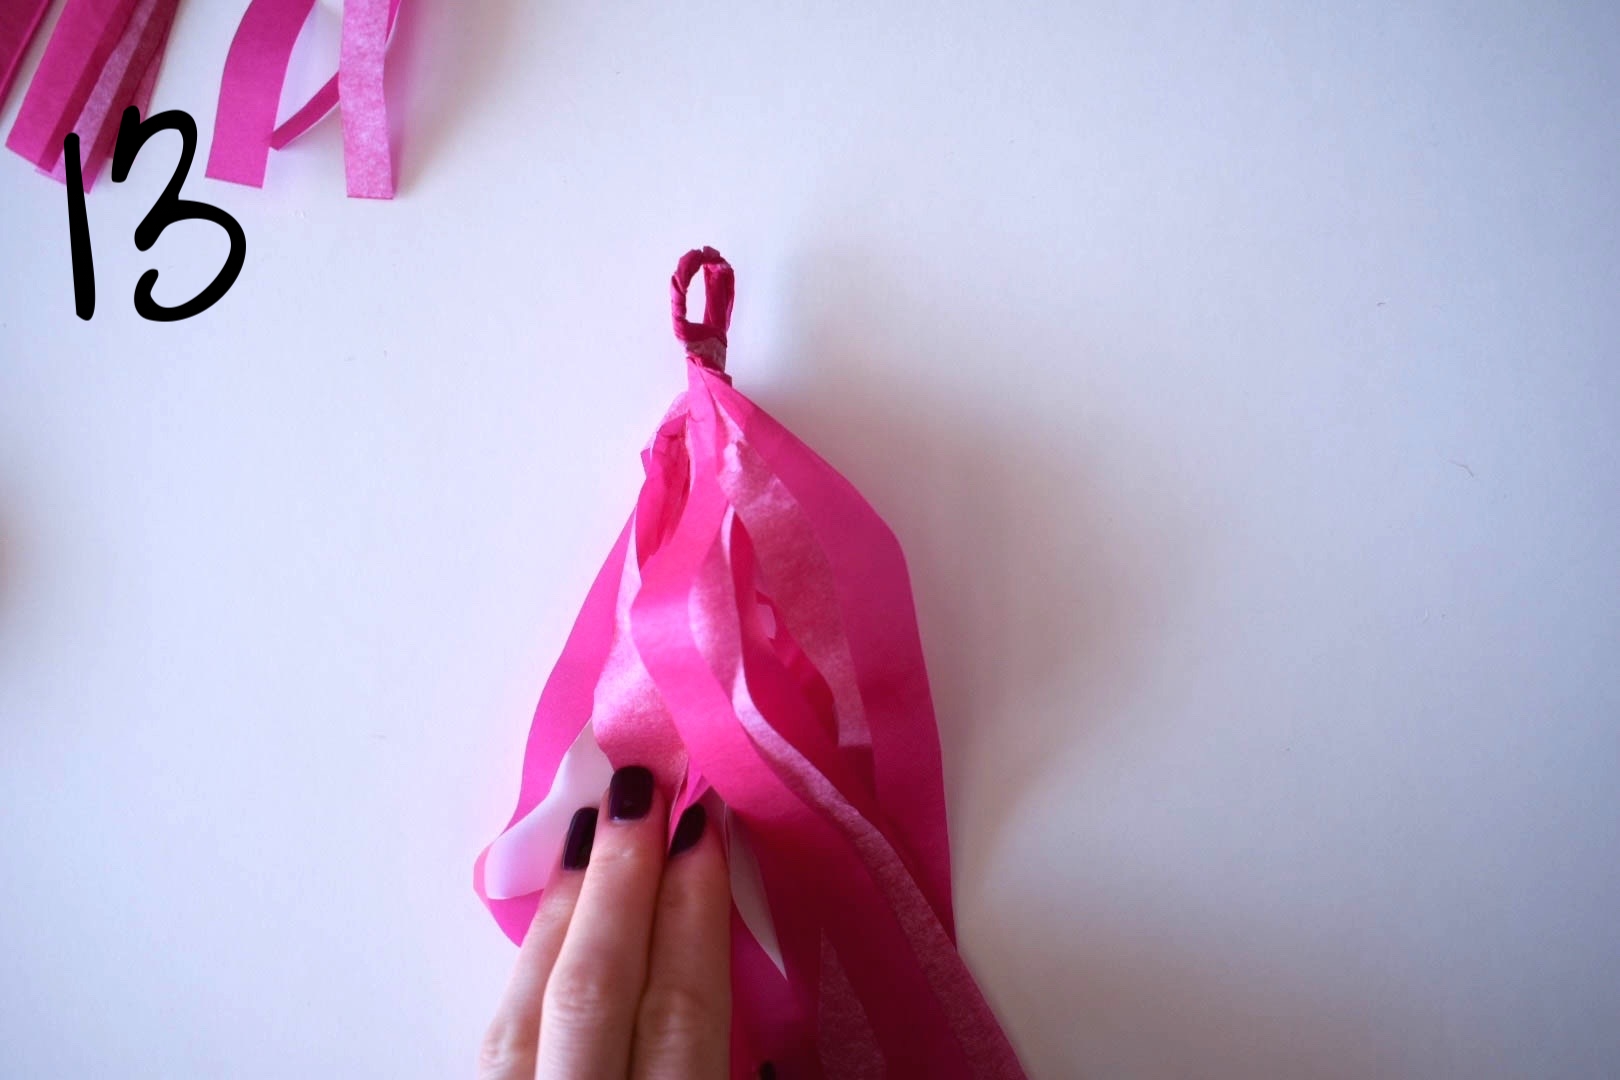
13. Fold and twist again to create a loop.
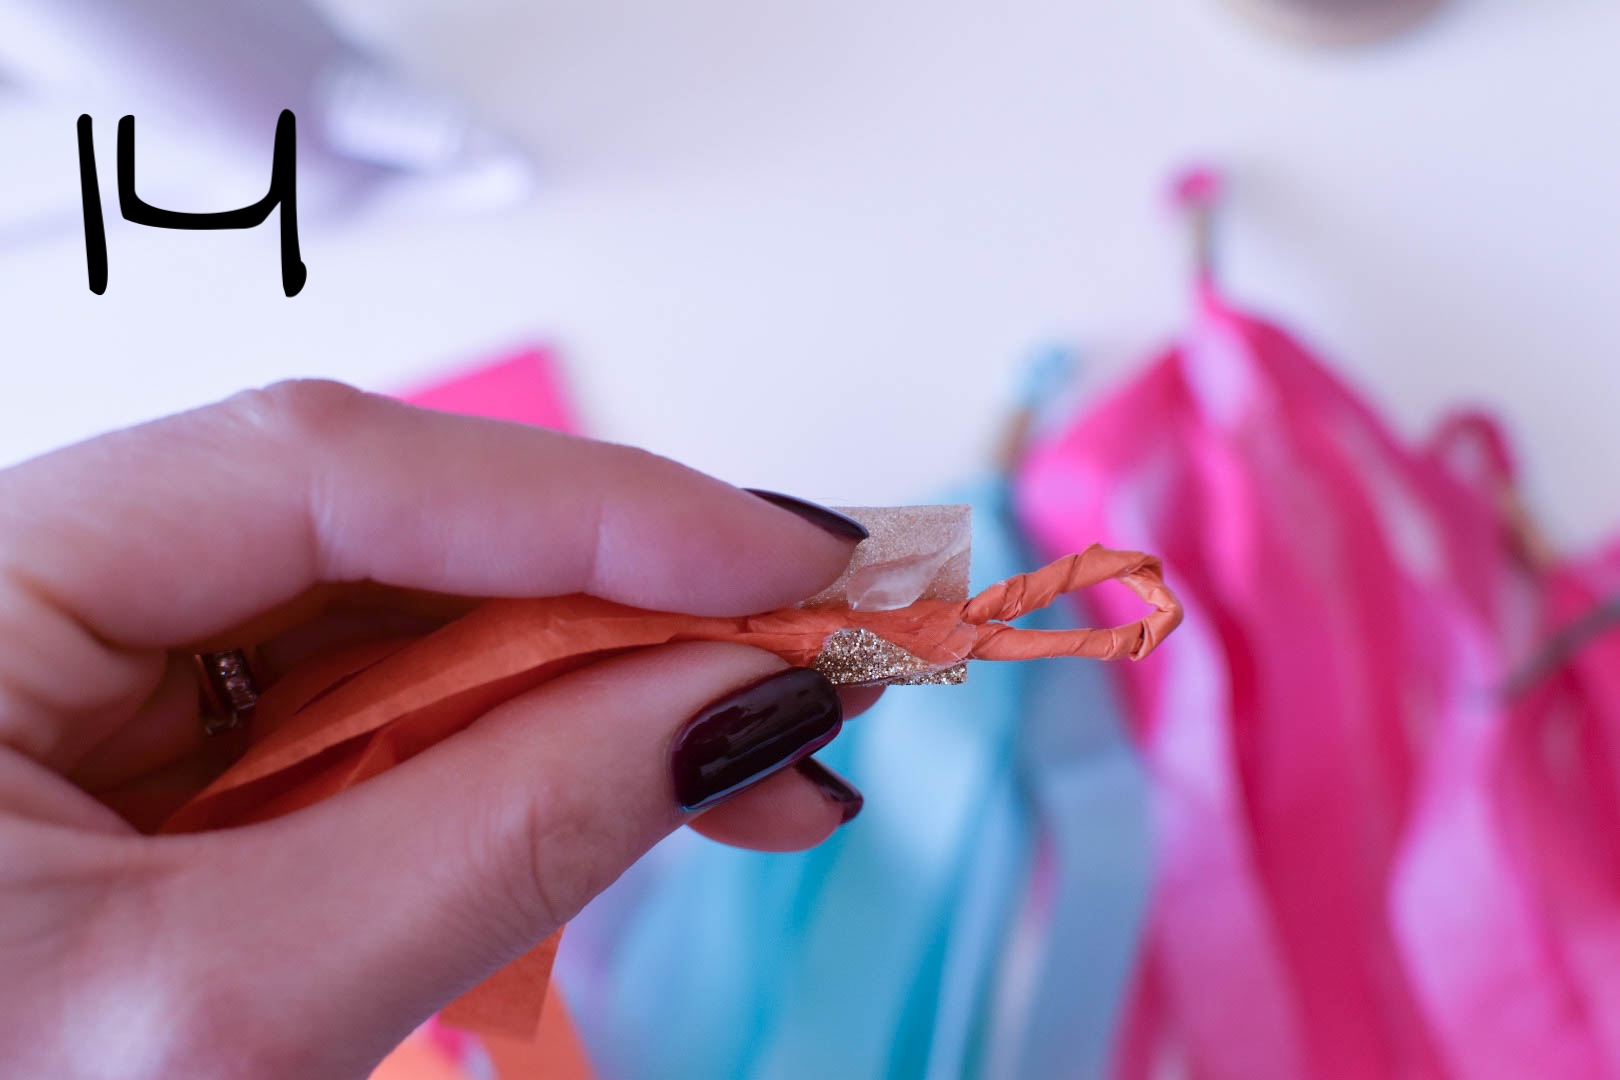
14. Cut about an inch or so piece of midi tape. Place your tassel on top of the tape at the base of the loop. Put a small dot of hot glue at the end of the tape. Immediately wrap the midi tape tightly around your tassel at the base of the loop (*if you wait too long, the hot glue with harden).
Repeat steps 8-14 until you have created your desired amount of tassels. **Make as many as you like depending on the length, and how full, or spaced out you want the garland to be.
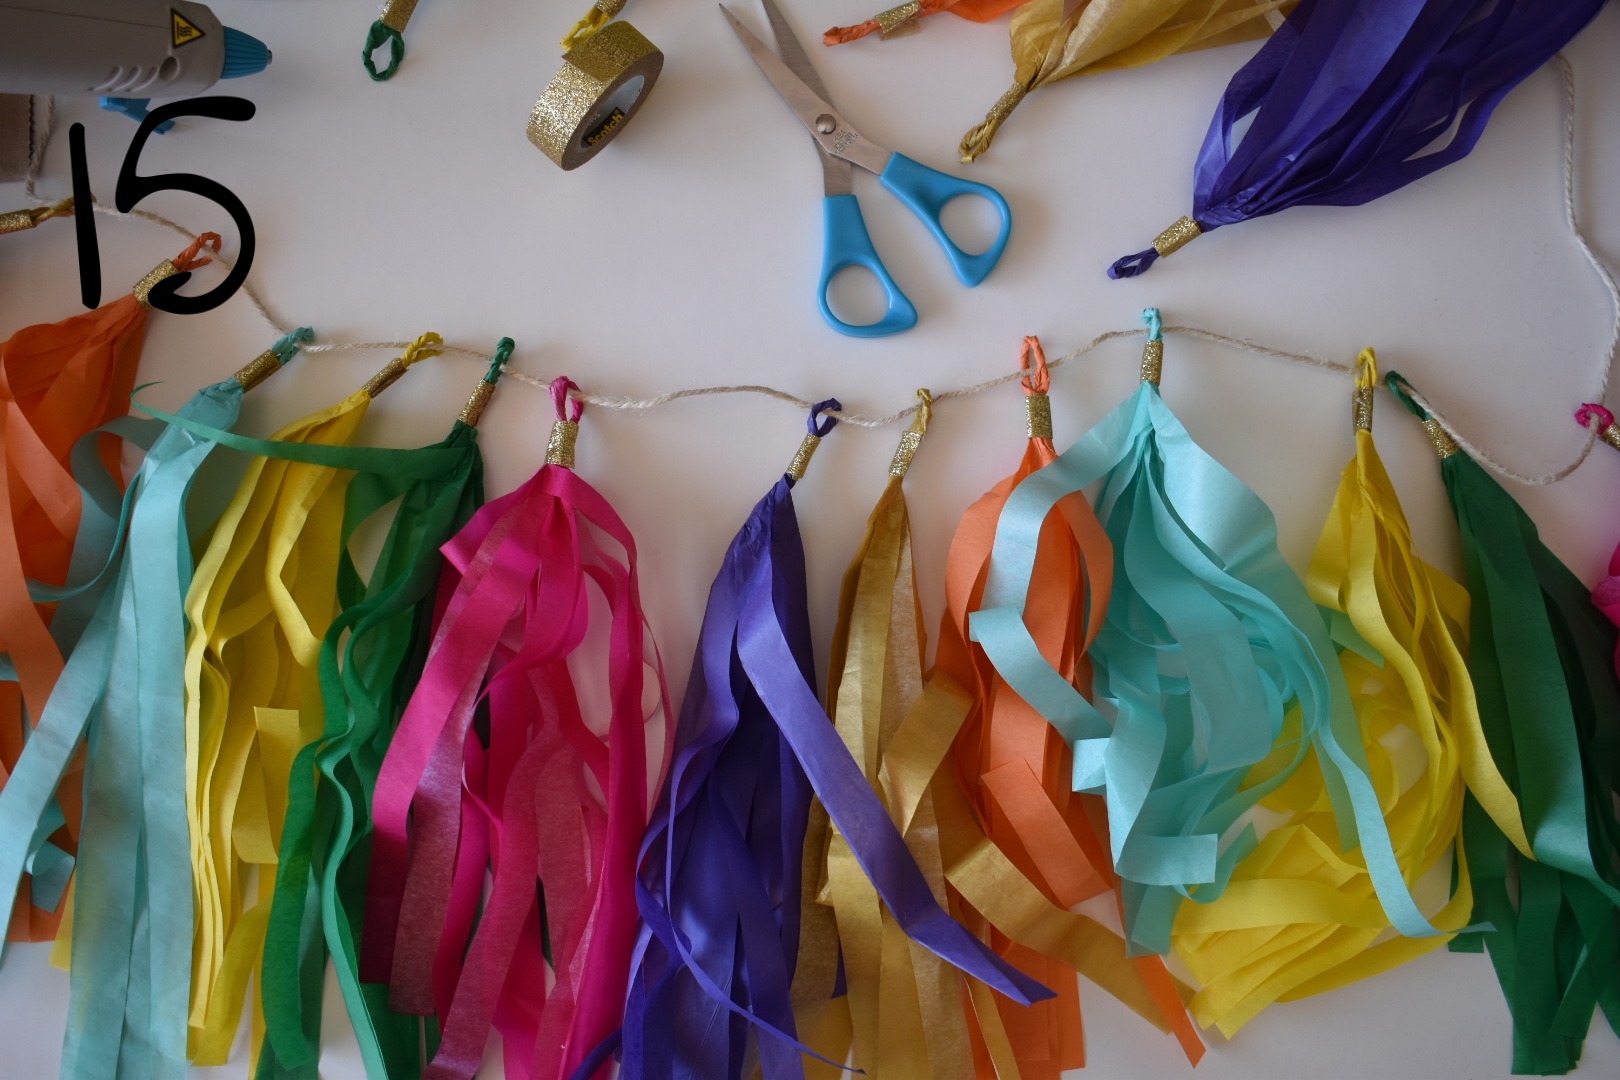
15. String your tassels along the piece of yarn or thick twine, and voila! Once you hang the garland (you can tape or tie the ends to wherever you are hanging it from), space out the tassels evenly.

//Notes//
*I had to use hot glue because my midi tape was not sticky enough. It may not be the same case for you if you're lucky! If you do use the hot glue and it hardens before you wrap the tape around your garland--don't panic! The hot glue peals off easy enough.
**I had about 7 difference colors; each piece of tissue paper creates four tassels, so I made about 28 tassels for my garland.

